The world’s water needs have increased by over six times in the last century. With a sizable population across the globe finding itself facing a water deficit, there has never been a better time than now to secure as much water as feasibly possible. Every drop counts.
In light of this, underwater tanks are an immediately available solution to the world’s water woes.
How, you might ask? Through the uncomplicated process of harvesting rainwater.
Advantages of using underground water tanks
If you are harvesting rainwater, you have chosen a green solution for your domestic water needs.
Plus, if your yard is not so spacious, having an underground tank will be an effective solution to your space needs.
Also, considering aesthetics, an underground water reservoir will keep your yard looking neat.
When you invest in your sub-terrain water tank, it’s safeguarded from tampering, vandalism, fires, and natural disasters. And depending on the material your tank is made of, installing underground will preserve it from sun damage and other harsh weather conditions.
Installing Your Underground Water Tanks
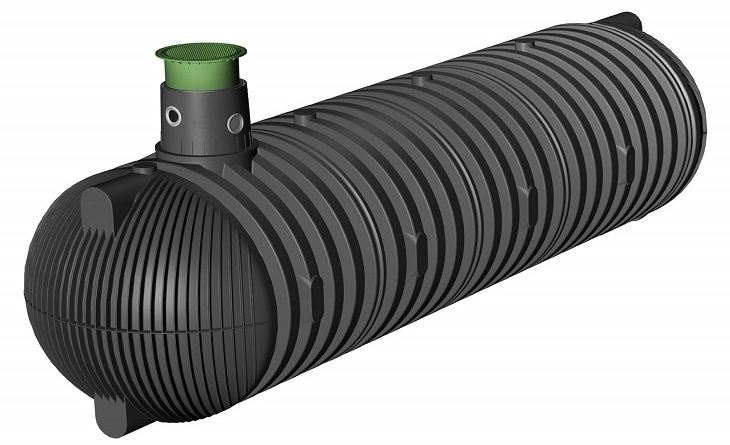
Underwater tanks are predominantly made from concrete and reinforced polythene as these are durable materials that will withstand underground conditions and last long. The tanks also come in a variety of sizes to suit your individual needs.
Here’s what you need to consider when installing your tank:
Firstly, check with the local authorities for any regulations or prohibitions about underground water tanks. You don’t want to find yourself on the wrong side of the law.
Secondly, get an official map that shows the positioning of sewer lines, electricity cables, communication and data lines, and any other underground infrastructure. This is usually available from your local municipality.
As the installation of your tank will involve digging a hole, take note of where you shall dispose of the extra soil and any plants and trees planted on your chosen site. Again, ensure you know the legal implications of any such displacement.
The installation process
- Excavation – this will require some earthmoving machinery, like an excavator. Measure the dimensions of your tank, and give room for allowance in your pit. There should be a minimum depth of 6 inches of cover over the top of the tank.
- Base preparation – the base of your pit should be cleared of all roots from any uprooted trees and rocks. Your tank should only sit on pea gravel. Ensure that you compact the bedding material before placing your tank.
- Set the tank – make sure the tank is placed centrally in the pit and is sitting flat.
- Install the accessories – fit in the bulkhead fittings for your tank, but do so carefully not to damage the tank. When in doubt, leave it to the professionals. A plumber can make all the necessary fittings for you.
- Add the risers, then cover with the lid and gasket.
- Backfill – fill with pea gravel, ensuring that you fill in all the gaps and evenly compact the gravel. Create a mound at the top to allow for drainage away from the tank.
You’ll also need a plumber or electrician to connect the rain switch to your internal plumbing.
Installing the tank is an easy process. Remember to safeguard your tank with regular checks to preempt any unforeseen occurrences that may result in damage to your tank.
Read More:
How To Maintain Your Underground Water Tank
Water Tank Maintenance